Workflow: Blogging About Workflows
09 Jul 2015Since the release of the Workflow application for iOS I’ve written quite a few workflows and as time as permitted I’ve been sharing many of them out to the world via this site. They’ve taken the form of full blog posts describing how the more complex workflows work through to simpler example workflow posts where I’ve just posted a description of what the workflow is intended to do.
As part of these posts I’ve been creating full screen shots of the workflows which a number of people have asked me about. In this post I’ll be revealing how I create them along with some details of a workflow that I developed out of these blogs and has enabled me to fairly quickly put together the example workflows.
My Process
Step 1 - The Flow
The first thing I do of course is create my workflow. I create them for a variety of reasons:
- To fulfil a personal need or to automate something I’m finding myself repeating a lot.
- To work out how some action, feature or principle in workflow works.
- To help someone else who is having trouble with workflow - I mainly keep an eye on Twitter for this.
Step 2 - The Screen Shot
Once I’m happy that my workflow is running properly I’ll next prepare a full screen shot. Whilst the guys who develop workflow do allow you to see workflow structures online, these do not include the full detail and so I always opt to produce the screen shots from my iOS device and by that I really do mean from my iOS device … no desktop or laptop required.
It is a little bit of a manual process, but I use some good tools to get me on the right track. I basically go through every page of the workflow in Workflow and take a screen shot to my device’s camera roll by pressing the home and power buttons simultaneously. Where I have actions that include scrolling elements such as Text actions such that not all of the lines are shown by the default size I will take multiple screen shots scrolling the content each time so that I end up with screen shots containing the full content. I also ensure that the screen shots contain some overlapping content - ideally containing text.
I do a lot of my writing of my more involved workflows on my iPad, but I’ve also become quite adept at putting them together on my iPhone 6+ and this is the device I use for my screen shots. They have a nice high resolution and I always have my phone on me if I want to put together a quick example workflow and knock out the screen shot etc. while I’m on the go. My overall workflow is designed around using the iPhone 6+, but it could of course be tailored to any device and certainly when I started looking at workflow I was taking screen shots for posts from my iPad as at that point my phone was an iPhone 4S and I found working with workflow on that size screen quite painful except for running workflows.
To combine the screen shots into a single full length screen shot I use an app called Stitch It!. It is a free app, but I paid the extra ?2.29 to enable the Pro upgrade which I think removed a watermark and allowed me to combine more than three screen shot images. I tried a number of other apps, but none of them worked quite as well. Either the auto-matching was woefully inadequate or the image quality was very poor. In the end Stitch It! was the only app I could find that suited my workflow screen shot generation needs.
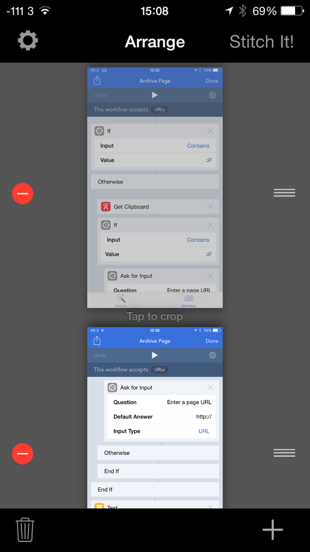
In the app I first select the screen shots that I wanted to combine to produce the workflow. I can then tap each image in turn to set the cropping points.
On the first image I make sure to drag the upper crop line to the very top of the image. Later on the top status bar will get cropped … but not by Stitch It! The reason being that I automate the image resizing and by using automation to crop the status bar I get reliable and identical results.

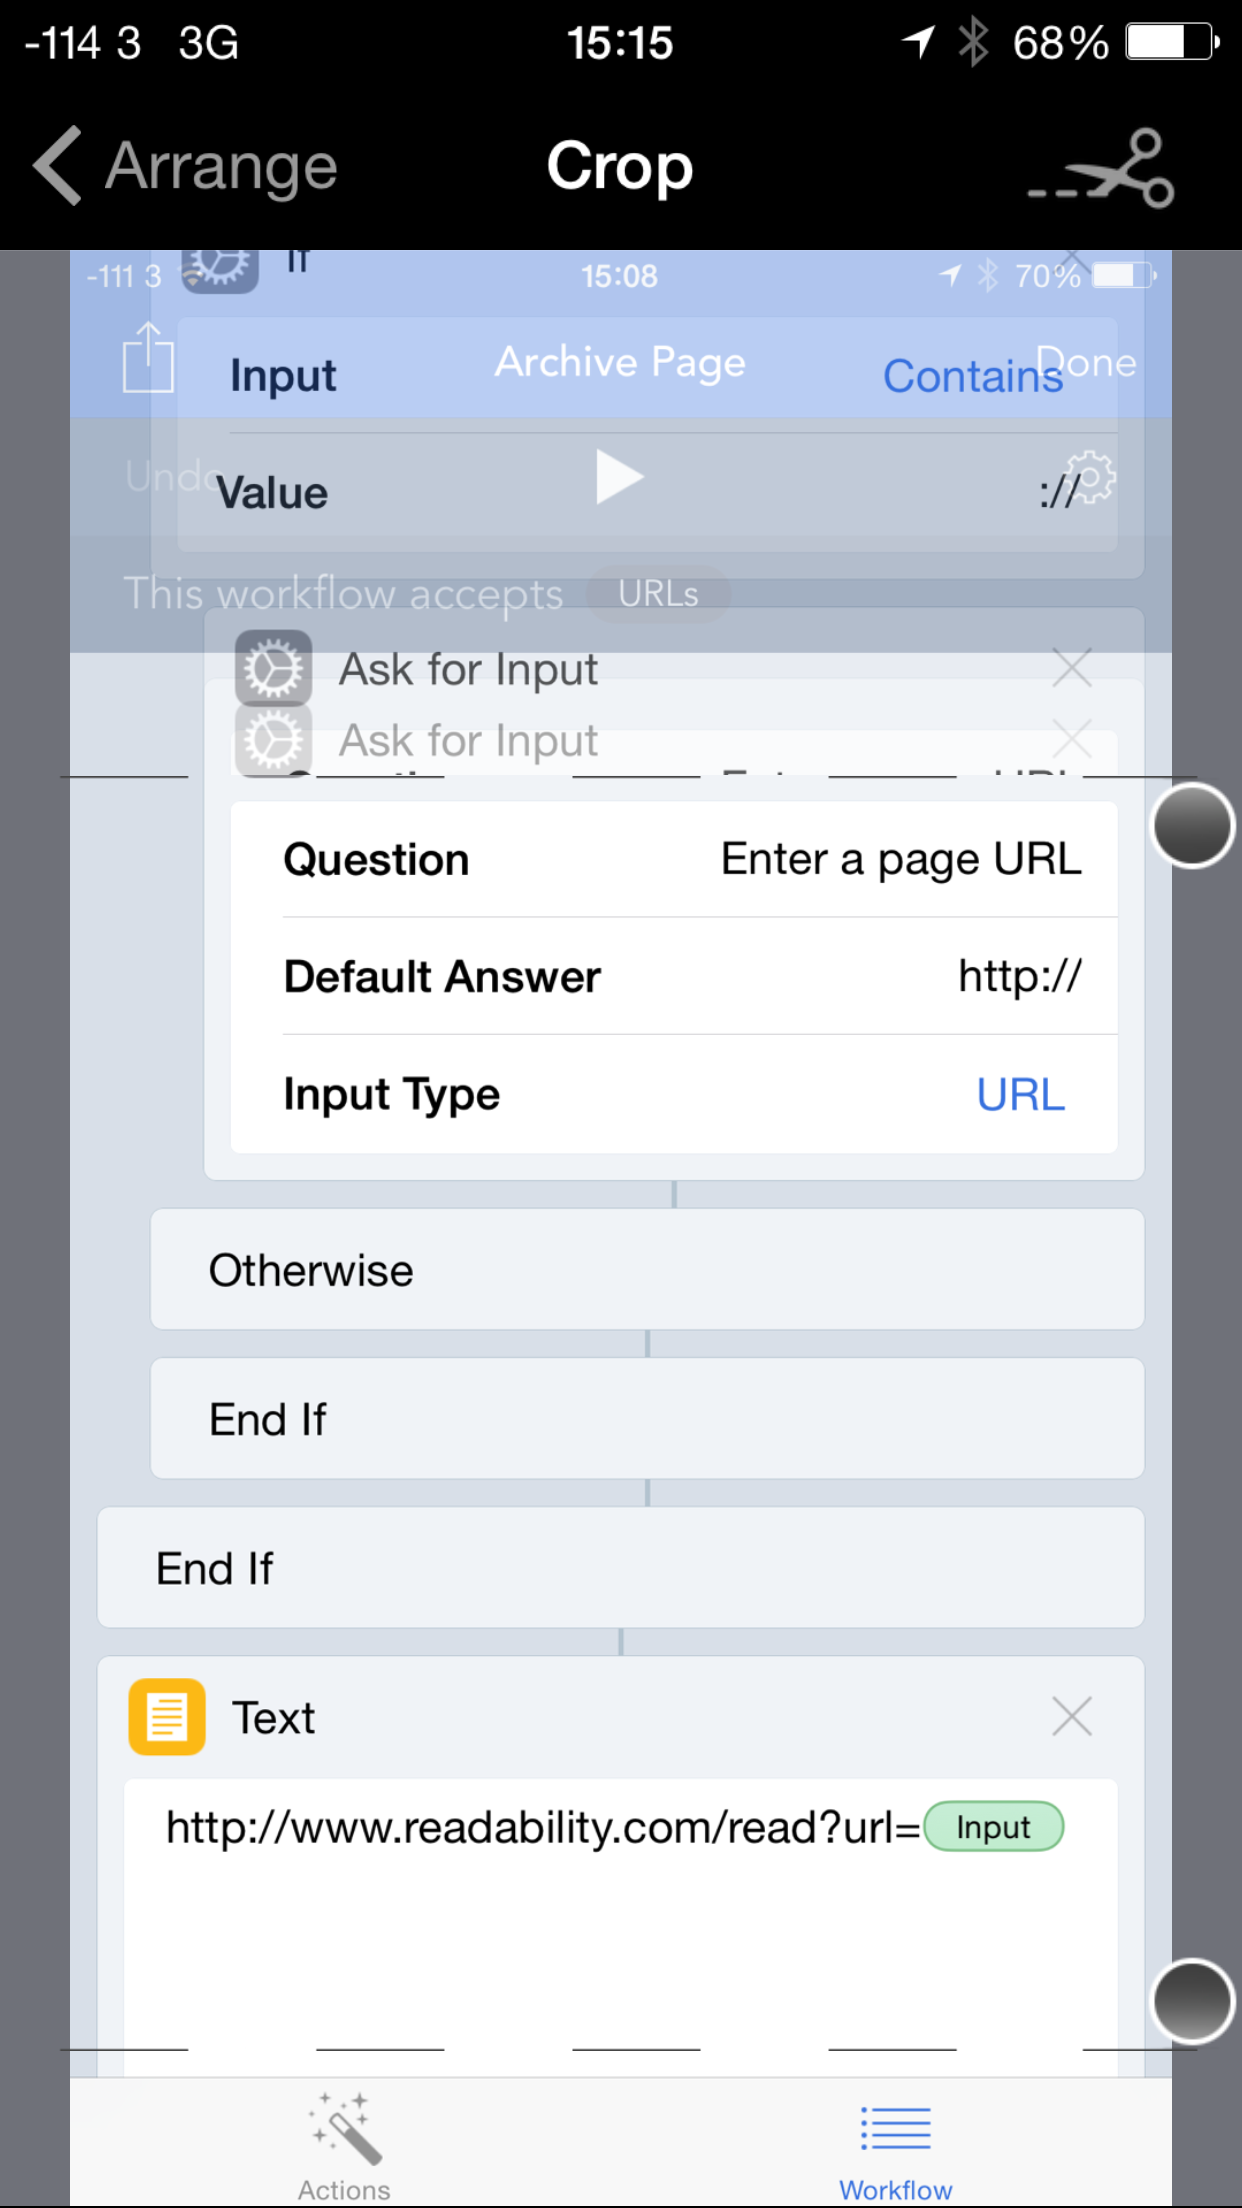
Tapping the scissors icon at the top of an image confirms the crop marks. I can then move onto the next image. For all subsequent images it becomes important to align the image with the previous one. Dragging the upper crop marker down until the two images align is the way this is done. This is where having text to align with comes in really handy as you can clearly see a mismatch right down to it looking like shadowing. It is relatively easy to tell when the text is correctly aligned.
 |
 |
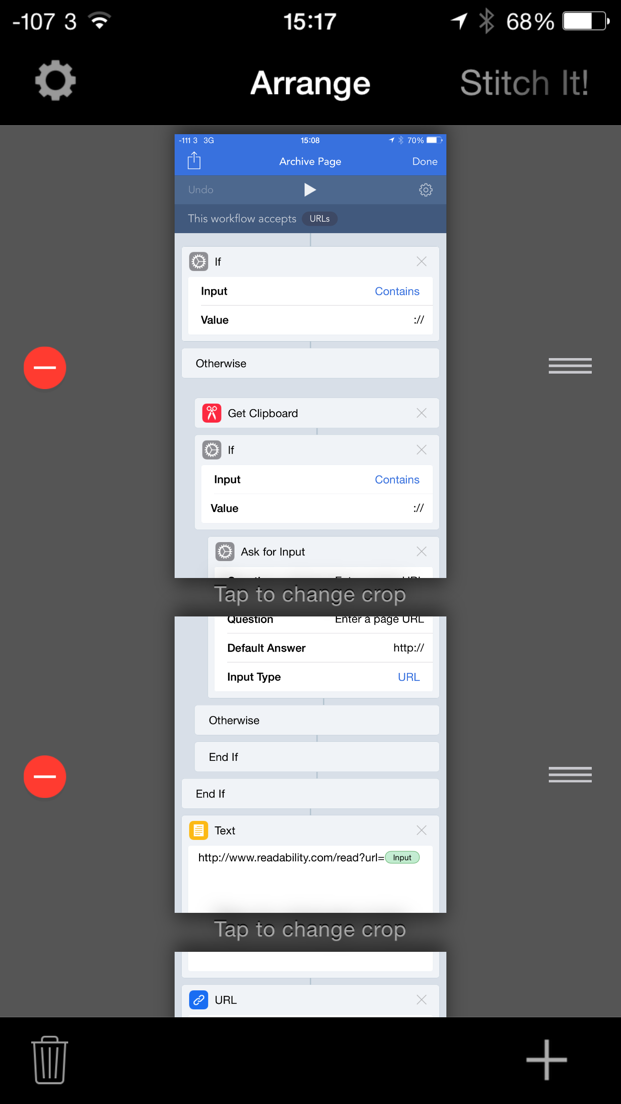
On the last image in the set I push the lower crop mark to the bottom of the image. Again automation is going to crop it to the right place for me every time later on.
Once the last image cropping is set the arrangement should show a set of cropped screen shot images. Tapping on Stitch It! combines the images and displays the image in an edit window so that you can add annotations. I never find myself doing this and so just tap Confirm at which point a thumbnail of the entire screen shot is displayed and the image is automatically saved to the device camera roll. Native screen shot images have meta data that describes them as screen shots. The combined image however does not have this and is treated as a regular image just like any you might save from an app or take with your device camera.
 |
 |
Step 3 - The Workflow Link
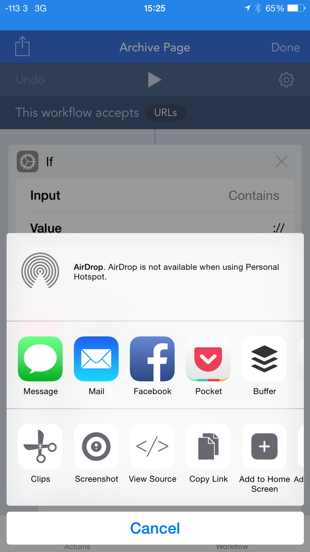
The next step is to return to the workflow in Workflow and select the share option. This then displays a standard share sheet and one of the options is to “Copy Link”. I select this copy and after a few moments a URL will be placed on the device clipboard. At this point the workflow has been uploaded into the cloud and the link on the clipboard is the direct link to access it. Now whilst I’ve already mentioned that this online summary (and download) page is not useful to me for documenting a workflow, it is useful in other ways holding the name of the workflow and the icon assigned to it - both things I happen to use in my example workflow posts.
Step 4 - The Document Workflow Workflow
Now comes my favourite part - the bit where I let Workflow pull together some workflow details for me and get it into a more useful structure.
My DocWorkflow workflow utilises the chained workflow approach I blogged about recently. Its runs five other workflows in sequence as follows.
- Save Workflow Name & Link - this saves the name of the workflow and the URL on the clipboard that links to the workflow to a text file (named after the workflow) in a Dropbox directory.
- Save Workflow File - this saves the workflow as a wflow file to Dropbox named as the workflow along with it’s unique download ID.
- Save Workflow Icon - this saves a small version of the workflow icon to Dropbox.
- Crop Workflow Screen Shot - this crops the combined screen shot image created earlier, resizes it and saves it to Dropbox using the name of the workflow. It also allows the screen shot to be removed from the iOS device’s camera roll.
- Remove Recent Screen Shots - this final workflow offers to remove any of the screen shots from the iOS devices camera roll that were taken in the last twenty minutes.
Whilst this set of workflows could be more efficient as a combined workflow (each workflow using the workflow name for example has to retrieve that from the Internet), structuring it this way let me develop and use each workflow independently.
To make things even quicker I have DocWorkflow as a shortcut in my Launcher app widget on my phone meaning that as soon as I have copied the workflow link to the clipboard I can run it by swiping the notification centre down and tapping the icon.
Step 5 - The Post
Once the main workflow has been run and the couple of manual interactions have occurred I should have the basic data needed for my post in a Dropbox folder along with a backup copy of my workflow. The next step is to translate that into a post.
For a normal blog post I just manually put together the details, but I can reference the files in the workflow folder in Dropbox. For an example workflow post then I make much more use of the information in Dropbox. The workflow icon becomes the icon for the post and I can copy the name and link from the text file into my post. However for the example posts I also have a few TextExpander snippets that let me create the update on my Mac with the formatting I require.
Finally I upload the text and any associated image files to the web site, set any final image formatting options, have a final review of the content and styling and then set when I want it to publish.
Wrap Up
That’s the gist of how I use Workflow and some other tools on my iOS device to prepare my Workflow posts. Whilst I do prefer to use my Mac for the actual write-up all the preparation work is handled on my phone and it is just the final posting that I find easier to do via my Mac. It’s actually been surprising how much I could do on iOS rather than on OS X as when I wrote my first Workflow related post it was certainly heavier on the Mac side. Still I don’t think I’ll be ditching the Mac just yet. I’m quite tall and having a good sized keyboard really makes a big difference for me and I guess is why I like the iPhone 6+ so much over my previous iPhone.
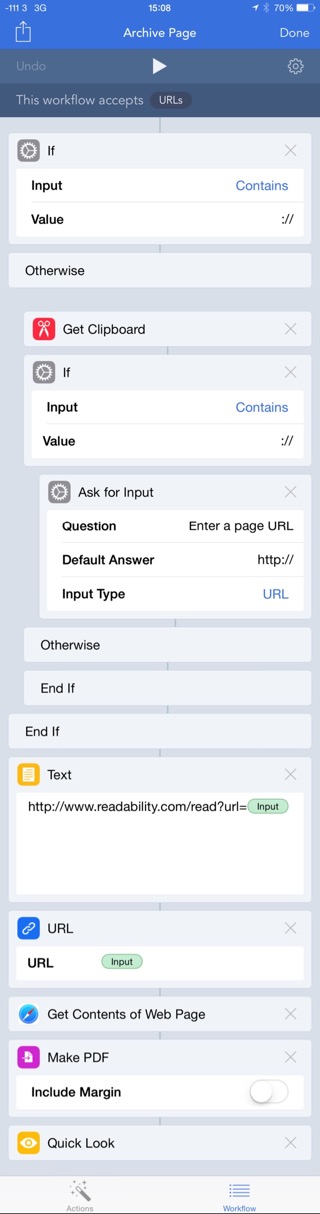
In order to make this blog post more digestible I’ll be publishing details of each of the five “sub-workflows” in subsequent posts and they are linked to from the section above. As I mentioned earlier the main workflow is based on workflow chaining and whilst I have included a screen shot for it below I’d recommend taking a look at the chaining post to get the best idea of how it works.
Hopefully this has answered some questions for those people out there who’ve been asking me about my Workflow posts and I also hope that the workflows shown here will help you develop your own workflows to support your blogging and other activities. If you’ve found this helpful please do let me know by leaving a comment.